Shooting film at night
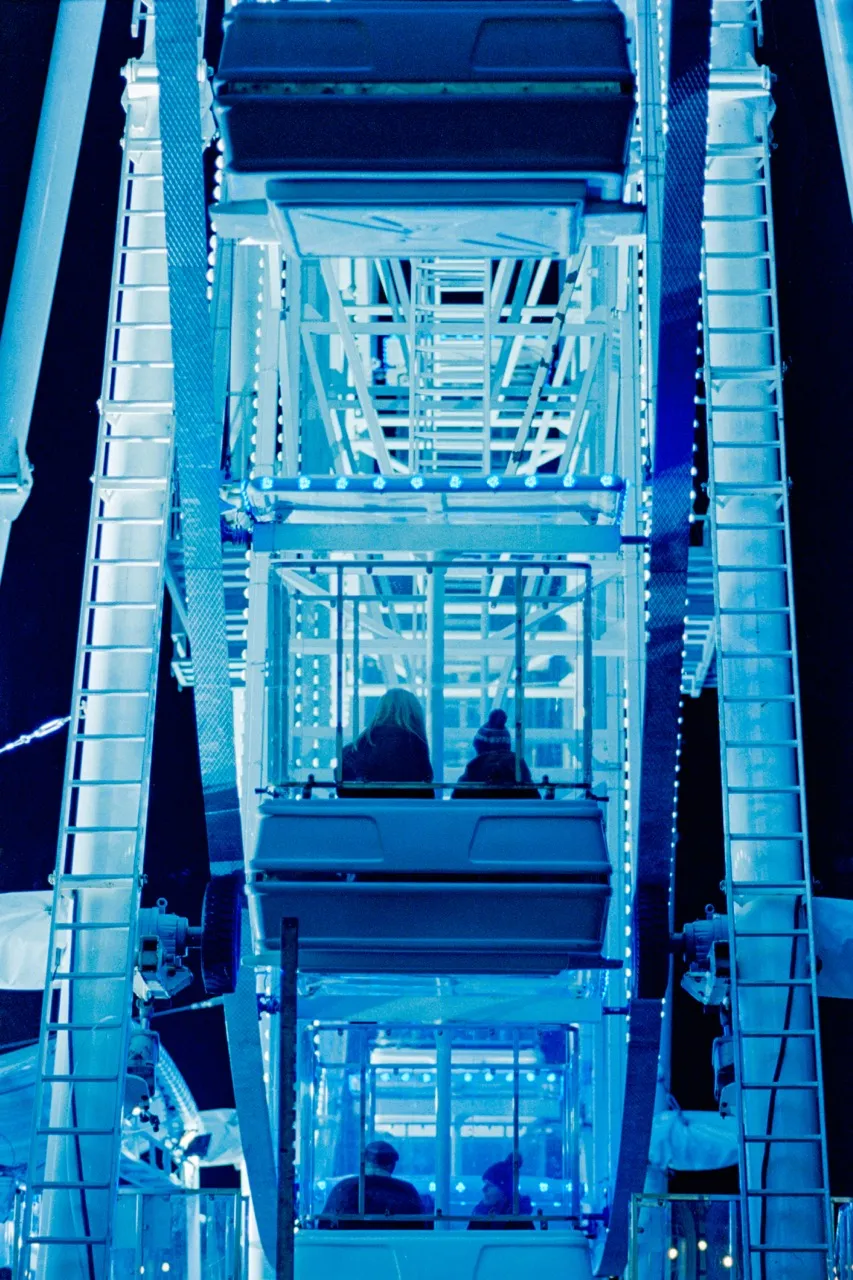
So you want to shoot film at night? In this brief guide I'm going to cover shooting in artificial lighting situations and the settings I use for it to help you get photos like this:
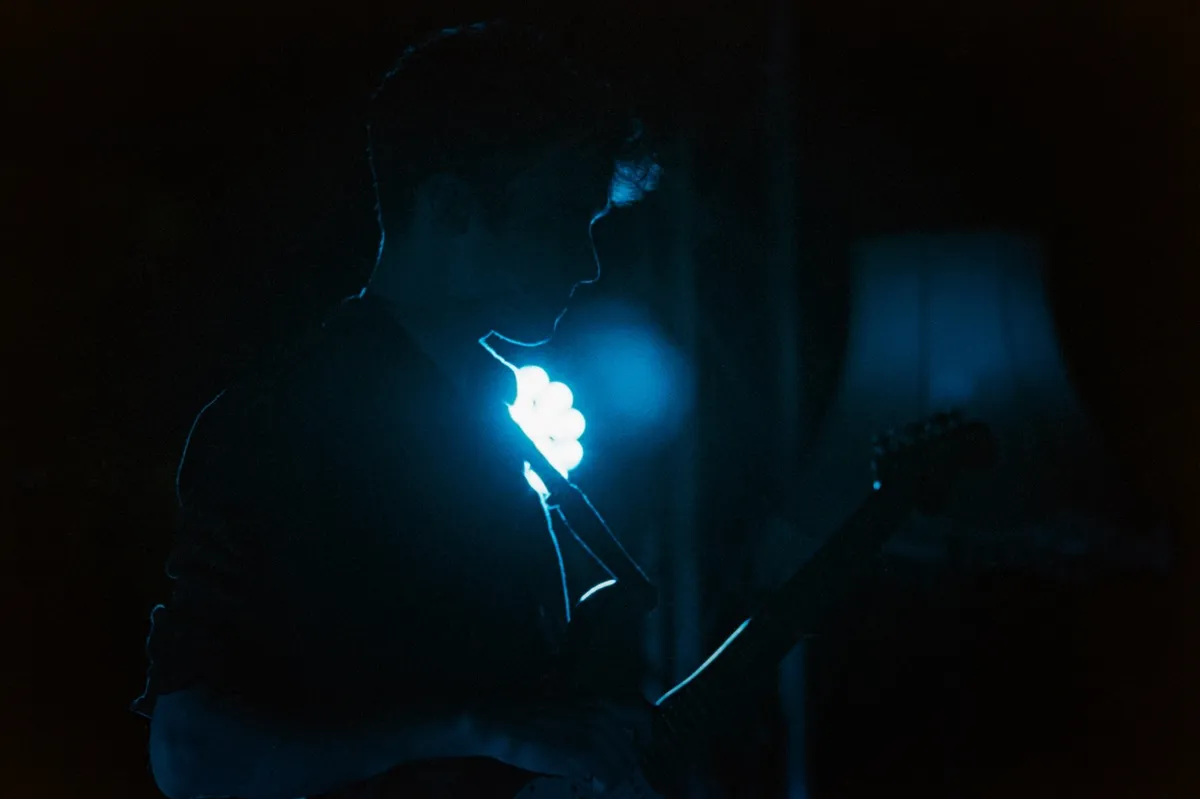
As we enter the winter market season, this is a great time to get out and shoot some film at night!
Equipment choice
35mm is going to be easier than medium format for this, but it's certainly still doable on medium format and it mostly comes down to how bright your lens is. f/2.8 is what I would consider to be the minimum, and I tend to fluctuate between f/2.8, f/1.8, and f/1.4 depending on what lenses I'm using.
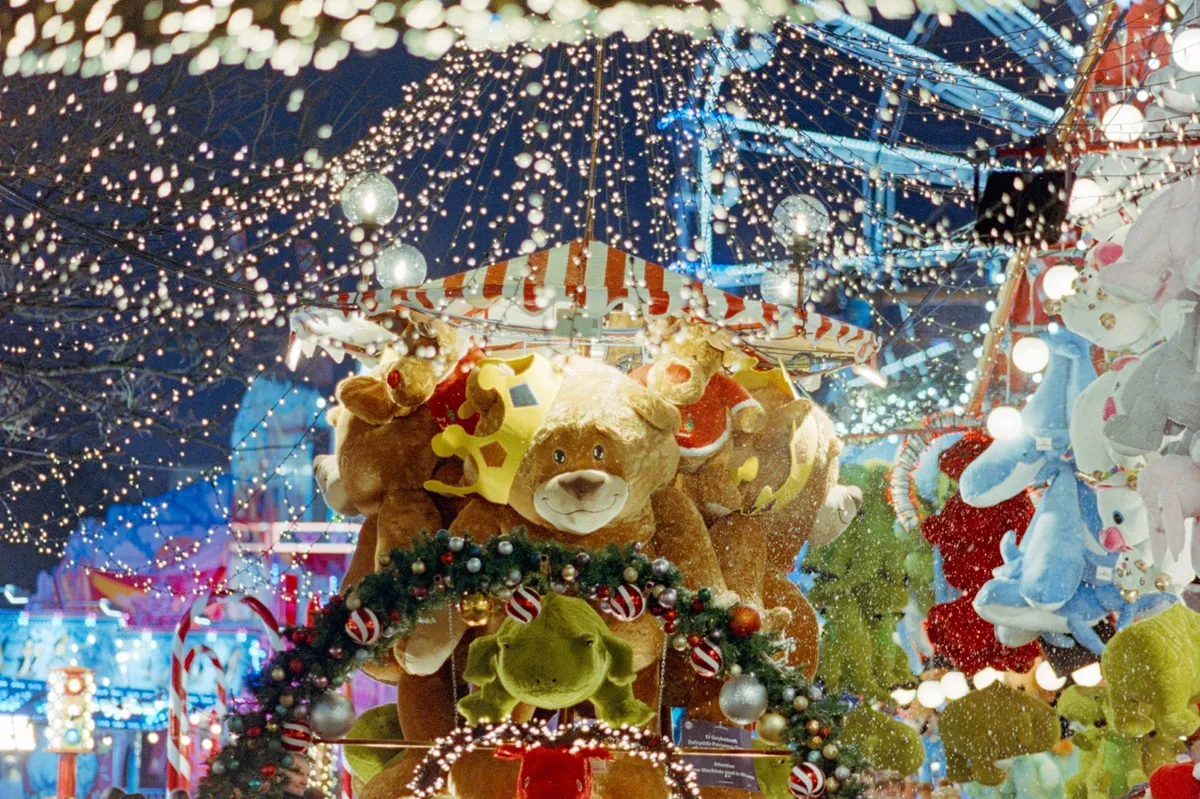
Longer focal lengths can work really well with artificial lights as they're going to give you some big glowy out of focus areas, like this shot taken on the Nikon AI-S 105mm f/1.8:
Film choice
If you're a monochrome fan, you've got plenty of options here. I'd probably go for Ilford HP5+ pushed to 1600, or Ilford Delta 3200. But I personally prefer colour at night when dealing with artifical lighting, and there your options are pretty much limited to just two stocks in different guises.
Kodak Portra 800 is fantastic, but expensive. And as your success ratio is likely going to be worse in the dark, it is, in my opinion, not worth it. Kodak Ultramax 400 is probably a better option, being notably more affordable, and 400 speed is the minimum speed I'd recommend, but I don't always feel like it suits lower light situations, as much as it's great in the sunlight.
CineStill 800T is very popular for night-time photography, but it is again very expensive. 800T is in fact Kodak Vision 3 500T with the remjet layer removed, and so it's then slightly more sensitive to light and has no anti-halation layer. CineStill 800T is fun but you will get red halos around light sources, which isn't something I'm always after:
There's a third option, however: Kodak Vision 3 500T. Kodak are apparently going to be stopping people from doing this, but there are numerous companies taking reels of this cinema film and respooling it into 35mm cannisters. This works out very reasonably priced, and here in the UK I buy mine from Analogue Revival.
Note that you will need a lab who can process cinema film, as it requires the ECN-2 process rather than C41 (or requires the remjet to be removed and then processed in C41), which will likely be slightly more expensive than C41 films. Even still, it'll be roughly half the price of the 800 speed films.
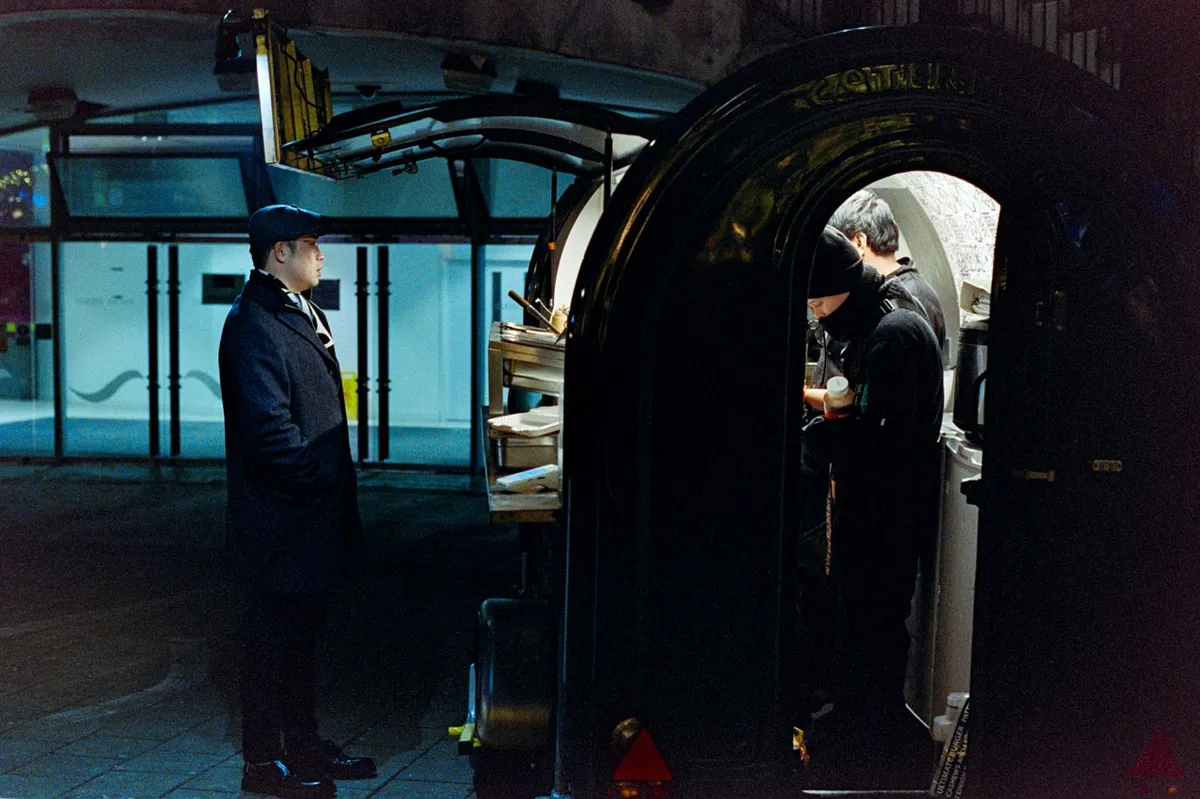
Location and composition
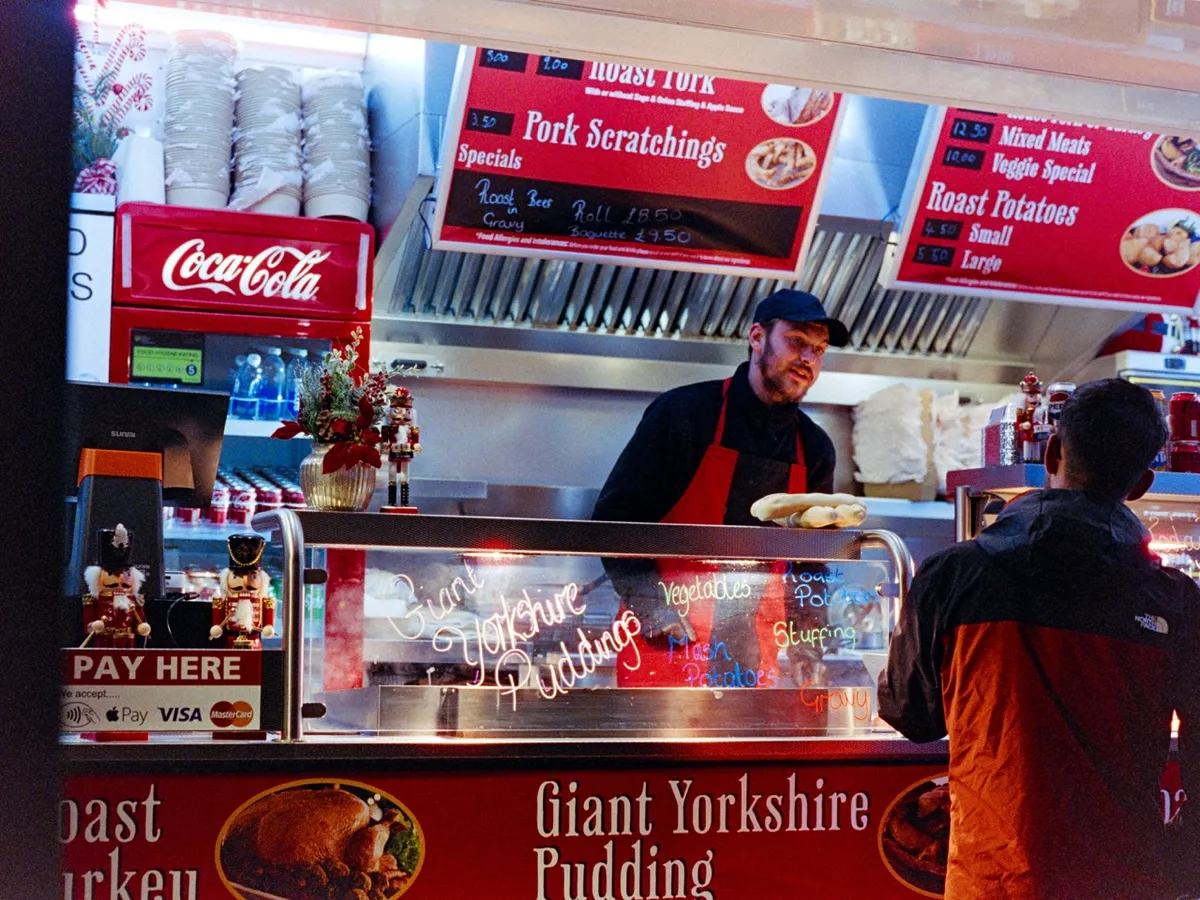
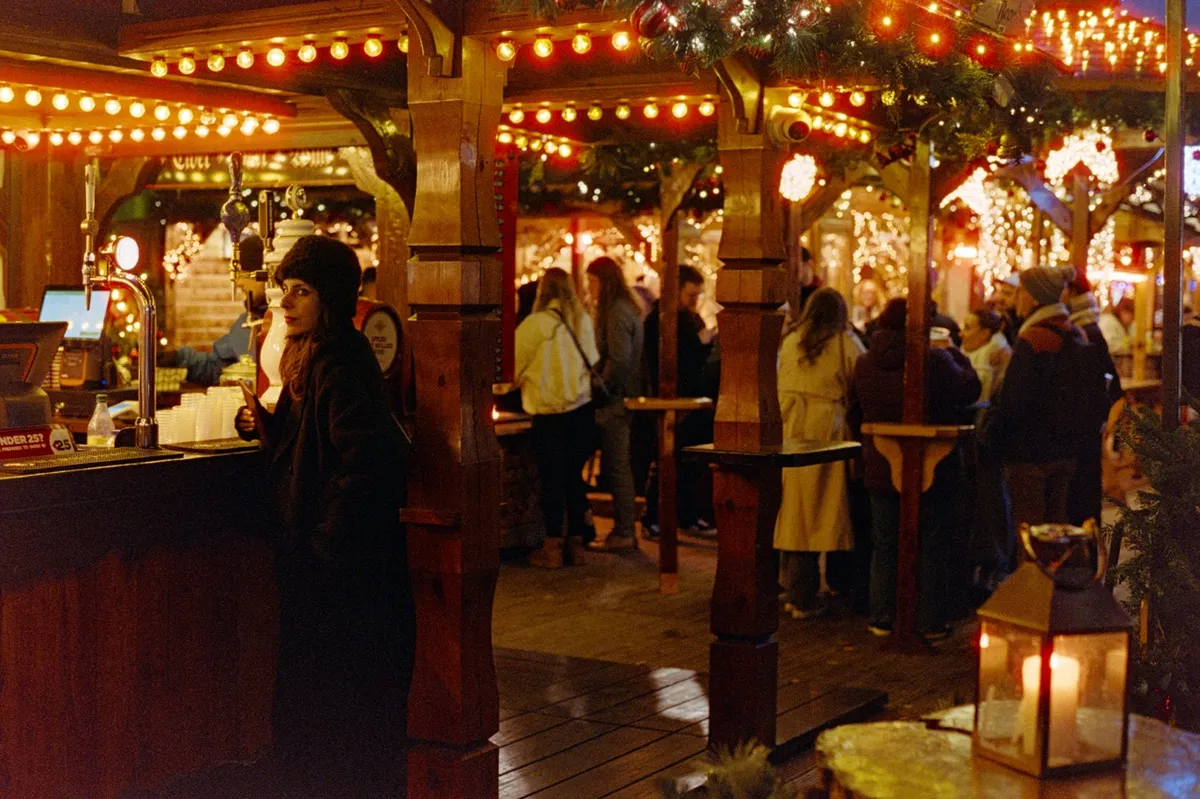
Basically, pick somewhere with lots of artificial light! Shooting into the windows of buildings, market or food stalls, or under street lighting is what we're looking for in this situation. This provides enough light that we can forgo the use of flash and still get usable camera settings.
Camera settings
So here's the main trick - we're going to ignore the camera meter and shoot with a fairly static group of settings. This is a situation where the EV linkage system on some older cameras comes in very handy.
For me, I'll be shooting Vision 3 500T, and I'll consider it as an ISO 400 film. I then bounce between two main combinations of shutter speed and aperture:
- 1/125 at f/1.8
- 1/60 at f/2.8
You can extrapolate from there for other aperture/shutter speed combinations. If your maximum aperture is f/4 then you'll be looking at 1/30 of a second, for example.
If you're looking to have more flexibility then you'll probably need to move up to something like an ISO 800 film. There are likely situations where you can eke an extra stop out of these settings without a faster film, but it will depend on the amount of light in the scene.
For me, in the sort of situations seen in this post, this is the exposure range I'm looking at.
Scanning and editing
One thing to keep an eye on when processing your photos is vignetting. As we're shooting right around the underexposure limit of the film, you may end up with discoloured vignetting in the corners, like in this example:
This is caused by the lens vignette wide open reducing the exposure of the corners to the point where the film will colour shift. You can adjust for this in your edit by applying a post-crop vignette and darkening the corners again (as we're working with negatives, the original vignette will appear lighter than the centre after inverting the images).
When editing your low light photos you should lean into the darkness and allow those areas to stay dark rather than trying to pull the shadows up like we often would with digital files.
Summary
This is my technique for low-light shooting in artificial light on film. There are likely other ways of doing it but this works reliably for me and I'm comfortable shooting in these situations.
If you have any suggestions or get any great photos in these situations then do come and show me them in the market!